Let's make
it.
A step-by-step guide to becoming a digital shoemaker. Follow the process, visit a FabLab, and make your first pair.
Six steps
from file to shoe
Each step uses digital tools available at any well-equipped FabLab. No prior shoemaking experience needed.
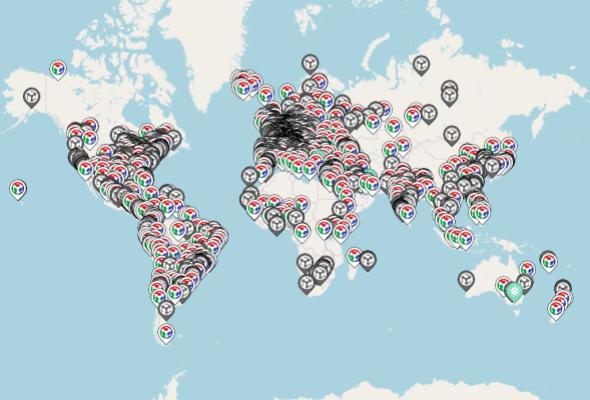
Find your workshop
Don't have the necessary digital equipment at home? No problem. Visit your nearest FabLab or search for an open digital workshop in your area.
Find a FabLab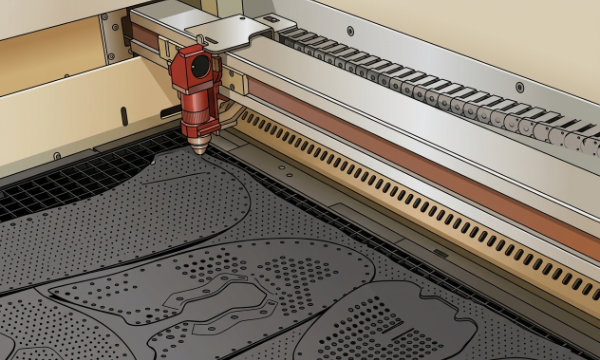
Laser cutting
This user-friendly machine delivers precise cuts with unmatched speed, perfect for cutting your shoe components from leather or vegan alternatives.
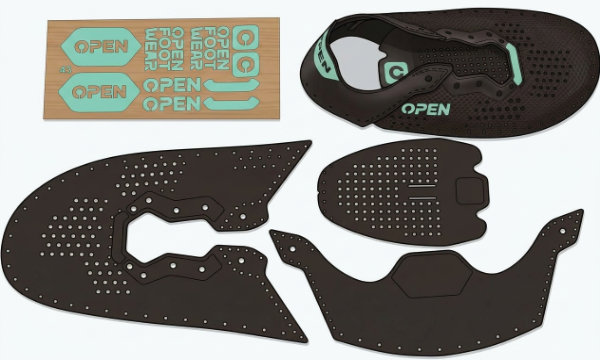
Label cutting
Personalise your shoes with unique labels — an easy and beautiful way to showcase your design and personality.
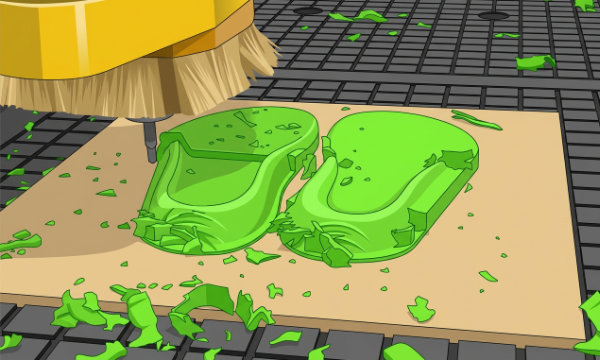
CNC milling
Effortlessly transform any EVA board into a perfectly fitting midsole. A must-have for the Open Run shoe design.

Hand gluing
Attach the rubber sole to the upper with precision for a durable, long-lasting finish. Use specialist shoe contact glue for best results.
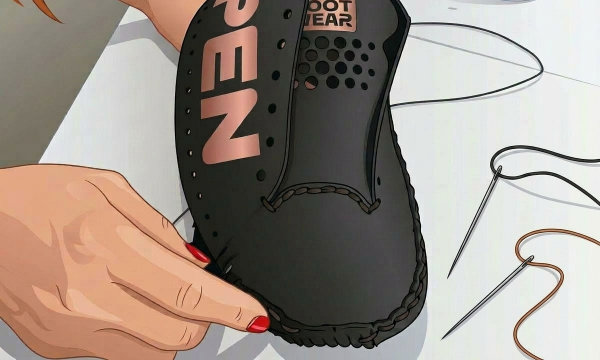
Hand sewing
Complete your shoe with two saddlery needles and thick, preferably waxed thread for a professional, durable finish.
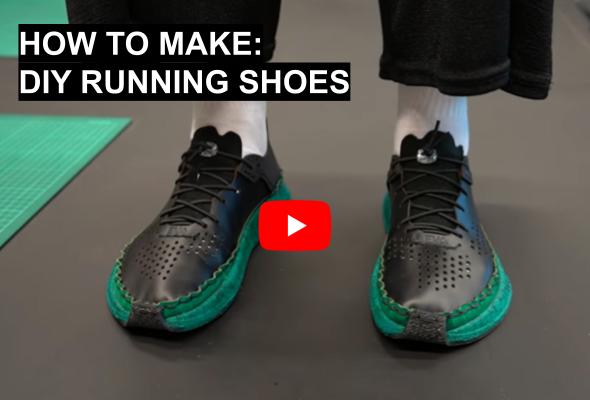
Watch it
being made.
As part of her Master's thesis at the Estonian Academy of Arts (EKA), Maria Rojko Nisu crafted this practical video tutorial to empower fellow makers and creators.
Watch the videoChoose your
shoe.
Now you know how it's made — pick a design, download the files, and start making.